Introduction
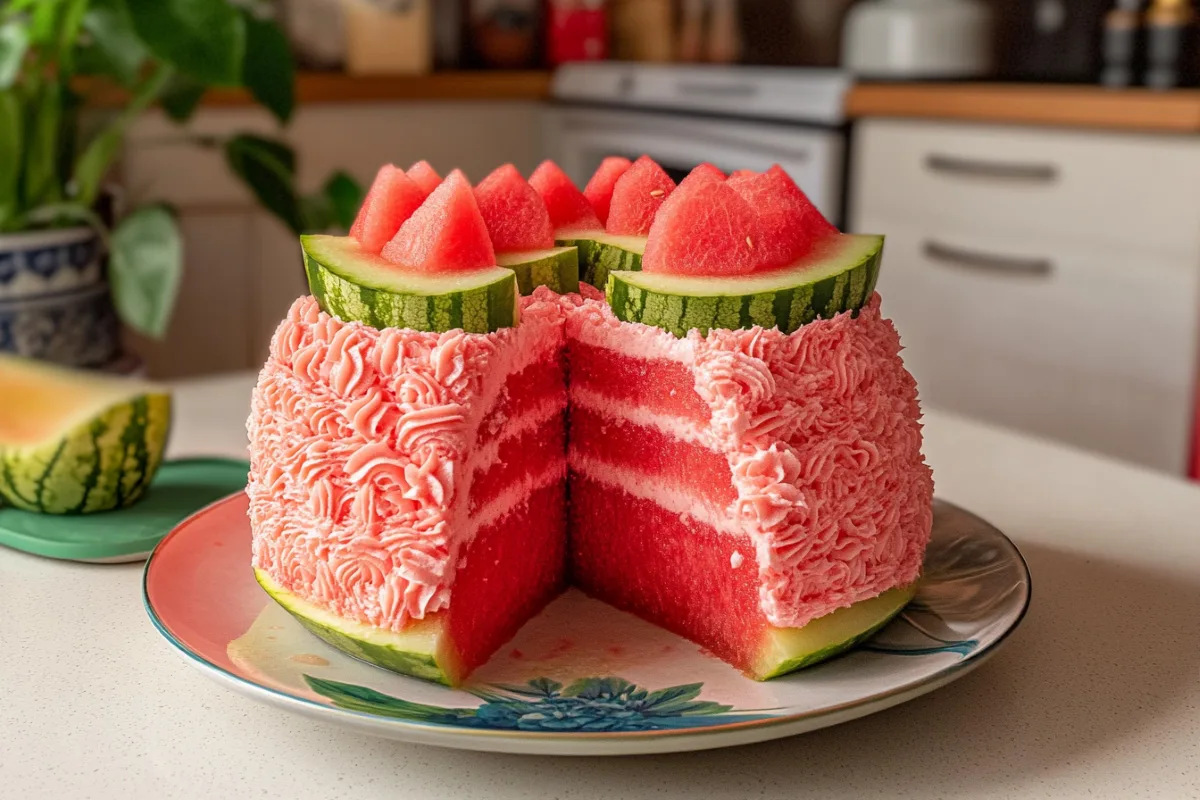
How to Cut a Watermelon for a Watermelon Cake? Cutting a watermelon for a watermelon cake is not just about slicing fruit; it’s a delightful process that transforms a summer favorite into a creative and healthy dessert centerpiece. This guide will walk you through every step, from selecting the perfect watermelon to assembling a beautiful cake that wows your guests. Whether you’re hosting a garden party, celebrating a birthday, or looking for a refreshing alternative to sugary treats, this tutorial ensures you get it right. Let’s dive into the details!
Choosing the Right Watermelon
Choosing the perfect watermelon is the first and most critical step in creating a cake that stands out. A good watermelon ensures a sturdy base and delicious taste, so here’s how you can pick the best one.
Seedless vs. Seeded Watermelons
When it comes to making a watermelon cake, seedless varieties are your best bet. Why? Seeded watermelons can be cumbersome to work with, especially when you’re carving and shaping the fruit. The fewer seeds, the smoother the process—and the cleaner your cake’s final look. Plus, seedless watermelons tend to have a firmer texture, making them easier to handle.
Indicators of Ripeness
Selecting a ripe watermelon ensures maximum flavor and texture for your cake. Here are a few quick tips to keep in mind:
- Check the field spot: Look for a creamy yellow patch on the underside of the melon. The more golden the spot, the longer it ripened on the vine.
- Perform the sound test: Tap the watermelon gently. A ripe one will produce a hollow sound.
- Examine the surface: Avoid watermelons with bruises or dents. A smooth, firm rind is a good indicator of quality.
For more tips on picking the perfect watermelon, check out this guide on choosing a ripe watermelon.
With these steps in mind, you’re well on your way to creating a visually appealing and tasty watermelon cake.
Preparing the Watermelon for Cutting
Preparing your watermelon before cutting is essential for hygiene and precision. A little prep work goes a long way in ensuring a smooth process and a beautiful watermelon cake.
Washing and Cleaning
The first step is cleaning the watermelon. Even though you’ll be removing the rind, dirt and bacteria can transfer from the surface to the fruit while cutting. Here’s how to do it properly:
- Rinse the watermelon under cool, running water.
- Use a soft brush or sponge to gently scrub the surface.
- Pat it dry with a clean towel before placing it on your cutting board.
This step might seem minor, but it’s crucial to keep your cake safe to eat, especially when serving it to kids or at large gatherings.
Tools Needed
Having the right tools makes all the difference in achieving a smooth, clean cut. Gather these essentials before you start:
- A large, sharp knife: For slicing through the thick rind with ease.
- A sturdy cutting board: Preferably one with a non-slip base to keep it steady while cutting.
- Optional tools: A melon baller (if you want to scoop decorative pieces) and a vegetable peeler (for finer rind removal).
With your tools ready and your watermelon cleaned, you’re set to move on to the fun part—cutting and shaping your watermelon for a show-stopping watermelon cake!
Step-by-Step Guide to Cutting the Watermelon
Now that your watermelon is prepped, it’s time to roll up your sleeves and start cutting. Follow these detailed steps to transform a whole watermelon into the perfect base for your watermelon cake.
Removing the Ends
To create a stable base, the first thing you need to do is remove the ends. This step helps the watermelon stand firmly on the cutting board, reducing the chances of slipping.
- Place the watermelon on its side.
- Using a sharp knife, slice about 1-2 inches off the top and bottom.
- Make sure the cuts are straight and even to provide a flat surface for your cake.
Pro tip: Take your time here. Uneven ends can cause your cake to tilt during assembly!
Peeling the Rind
Removing the rind is where the transformation truly begins. A smooth surface ensures that your watermelon resembles a real cake.
- Stand the watermelon upright on one of the flat ends.
- Starting at the top, slice downwards to remove the rind, following the natural curve of the fruit.
- Continue around the watermelon, working methodically to leave only the red flesh exposed.
- Check for any lingering white rind, and trim it carefully to create a uniform look.
For extra precision, you can use a vegetable peeler to clean up small sections for a polished finish.
Shaping the Watermelon
Here’s where you get creative. Depending on your vision, you can shape the watermelon into a single-tiered or multi-tiered cake.
- If you’re making a single-tier cake, trim the sides evenly to form a smooth cylinder.
- For a multi-tiered cake, cut the watermelon into two or three sections of varying diameters. Trim each section into neat rounds to create tiers.
- Arrange the pieces to ensure they stack securely, with the largest at the bottom and the smallest on top.
Tip: Don’t throw away the trimmings! These can be cubed or balled to use as decorative toppings or snacks.
Smoothing the Surface
To give your watermelon cake a professional finish, smooth out any imperfections on the surface. Use a knife to shave off bumps or jagged edges carefully. A clean surface will make frosting and decorating much easier later on.
Now that your watermelon is cut and shaped, you have a beautiful blank canvas ready for assembling your show-stopping cake!

